

chevron_left
chevron_right
Photo Panels
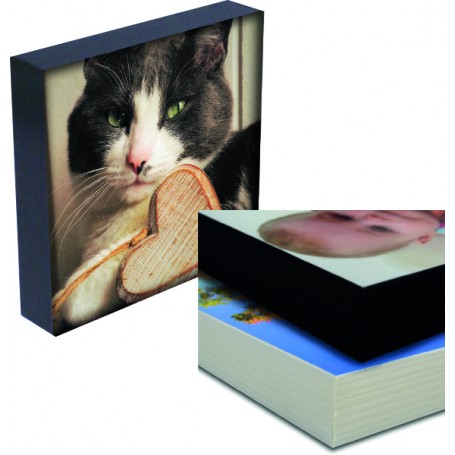
5x5 to11x14 In Both Black and White
| Image | Reference | Price | Add to cart |
|---|---|---|---|
Description
A lightweight alternative to solid MDF, these photo panels have a
pressure sensitive adhesive face and are available in a range of
sizes. 25mm matt edge finish.
Sizes larger than 11x14 are Wall Hanging Only
How To Make a Photo Panel
Begin by printing your image to the standard size indicated on the Photo Panel packaging.
Remove a small corner of the release liner on the face of the JetMaster Photo Panel.
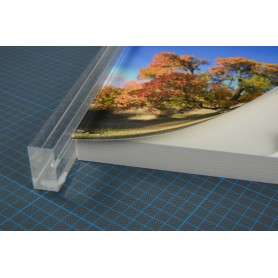
Position the photo panel into the alignment tool.
Place your print on top of the panel and use the alignment tool to ensure it is straight.
Apply pressure to the exposed adhesive to secure your print in place.
Remove the JetMaster Photo Panel from the alignment tool.
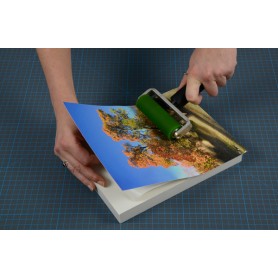
Remove the rest of the release liner, use a roller to apply even pressure over the entire surface of the print.
Place the photo panel face down on a cutting matt and use a knife or rotary cutter to trim off the excess media.
pressure sensitive adhesive face and are available in a range of
sizes. 25mm matt edge finish.
Sizes larger than 11x14 are Wall Hanging Only
How To Make a Photo Panel
Begin by printing your image to the standard size indicated on the Photo Panel packaging.
Remove a small corner of the release liner on the face of the JetMaster Photo Panel.
Position the photo panel into the alignment tool.
Place your print on top of the panel and use the alignment tool to ensure it is straight.
Apply pressure to the exposed adhesive to secure your print in place.
Remove the JetMaster Photo Panel from the alignment tool.
Remove the rest of the release liner, use a roller to apply even pressure over the entire surface of the print.
Place the photo panel face down on a cutting matt and use a knife or rotary cutter to trim off the excess media.
Specification
139646
JMPP127X127B
10